If you’re planning to change your indoor paint, this prep guide is the only one you’ll ever need.
Once you know how to prepare a room for painting, it’ll look professionally done with ease. It will take time and effort, but it’ll be worth it for the hassle-free paint job ahead.
How To Prepare Your Room for Painting
Before picking up that paint roller, give these preparation tips a go:
Part I: Clear the Room.
1. Move the furniture out of the way (if possible).
Have someone help you carry furniture out of the room and into a spare or living area. If you are painting your bedroom, bring your mattress and beddings out.
If you don’t have available space, move everything to the center of the room you’re painting. Stack them together and cover them with plastic. Don’t move heavy furniture by yourself. Ask a friend or family member to help you out.
2. Remove wall and ceiling decor.
Remove any framed photos or artwork hanging on your walls, and secure them in a clean area. If any nails are sticking out, remove them with a claw hammer.
For the light fixtures, you can either remove or cover them with plastic before securing them with tape.
3. Unscrew switch plates and outlet covers.
Use the appropriate screwdriver to detach switch plates and outlet covers, then keep the screws, switch plates, and outlet covers in a plastic bag to have an easier time re-installing when you’re done.
Cover the exposed outlets and switches with painter’s tape. Here’s a pro tip: leave them uncovered until you begin painting so you can switch your lights on and off.
Part II: Protect the Fixtures and Floors.
1. Put plastic covers over the large furniture.
Cover the heavy furniture that you can’t move out of the room, then use tape to secure the plastic cover at the base. This will protect them from painting. Avoid using fabric because the paint will seep through.
2. Put tape around the windows and baseboards.
If there are any trims you don’t want to paint, cover them with painter’s tape. Use your fingers or a putty knife to secure it. You can use one long strip or multiple short strips — whichever works best for you.
3. Cover the floor with drop cloths.
Cover your flooring with drop cloths so the paint won’t ruin it. Secure them with painter’s tape from the hardware store.
Part III: Clean and Repair the Walls.
1. Fill holes with spackle, and let dry.
If the wall you’re painting has uneven surfaces or holes, cover them up with spackling paste. For nail or tack holes, take a small amount of drywall spackle on your finger and push it into the hole.
For bigger holes, use a putty knife to spread the drywall spackle evenly. If you’ll put up the frames and curtain rod holders in the same place, it is best to leave the holes be.
2. Use a sanding block or 220-grit sandpaper.
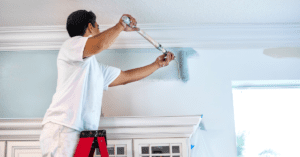
Before you sand the walls, wear a facemask so you won’t breathe in the dust. Take the time to rub the walls and even out the areas with a spackle. Use a ladder to reach high areas.
When you sand the walls, the walls will hold the primer and paint better.
3. Clean your walls with soap water.
Get a bucket of warm water with dish soap, use a sponge to wipe down the walls, then wring the sponge so it won’t make a mess.
Wash the sponge from time to time so the dirt and stains you washed off won’t stick to the walls. Let the walls dry before you start applying the primer and interior paint.
Part IV: Prime Your Walls.
1. Use the correct primer.
If you’re using an oil-based paint, opt for an oil-based primer. For all other types of paint, use a latex-based primer. If you’re covering a dark paint color, a primer is necessary. If not, the dark paint will only show through.
2. Use a paintbrush around the baseboards and trims.
A 1-2-inch angled or square paintbrush with nylon bristles is suitable for baseboards and trims.
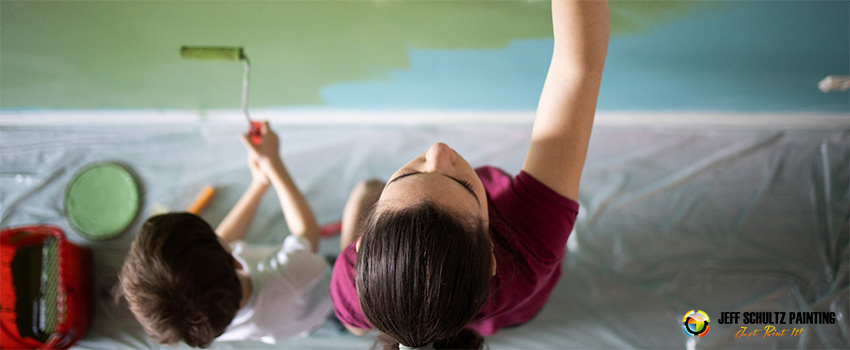
3. Use a paint roller to paint the walls.
A nine-inch paint roller works best for walls. Make a W-pattern for the best coverage, and don’t soak the roller for too long to avoid drips. Leave it for a day to dry.
If there are uneven coats of paint, apply another layer. Use a ladder or a paint roller with a longer handle for hard-to-reach areas.
Hire Jeff Schultz Painting Today
Nothing beats hiring an expert for the job.
If you’re looking for professional residential painting in Sarasota, FL, call us! We know the best interior painting techniques and how to do them right.