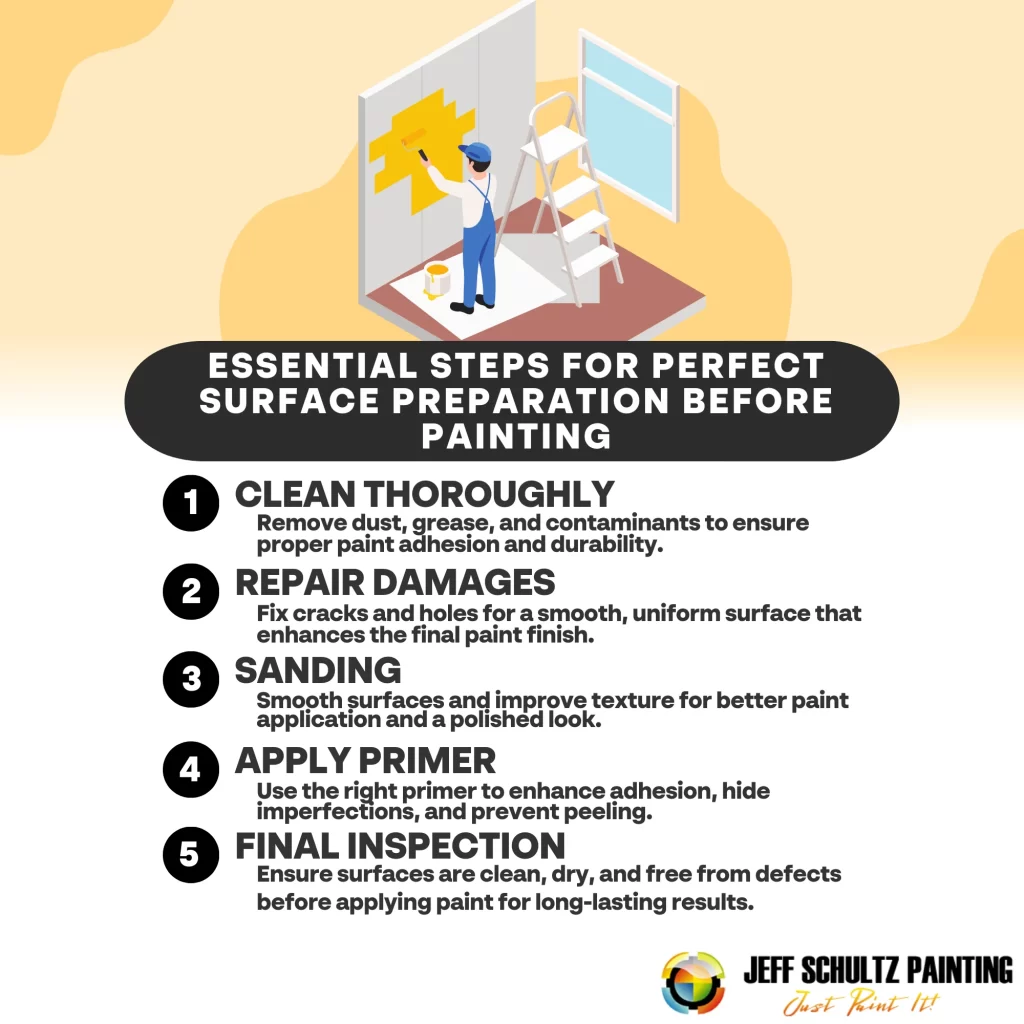
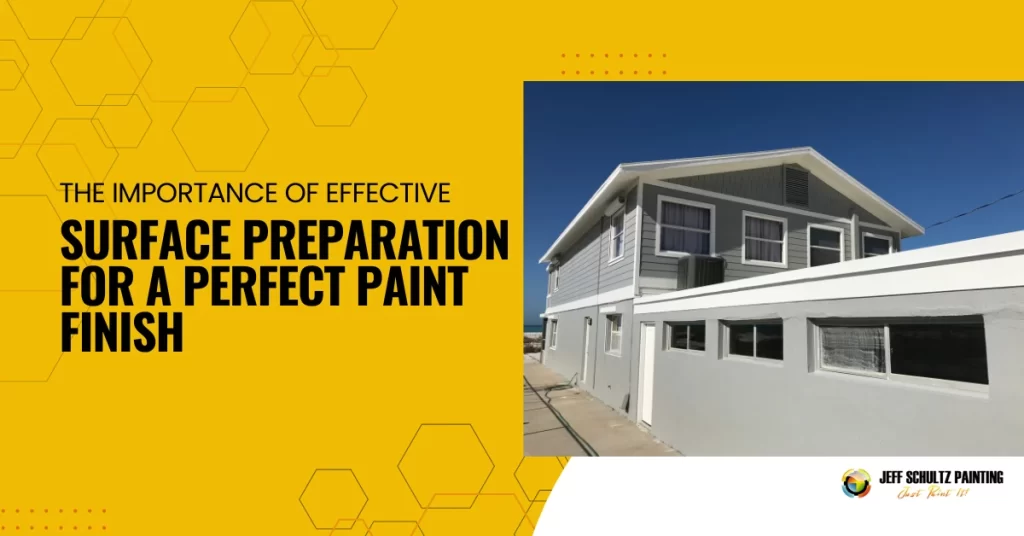
Proper surface preparation is key for painting because it greatly affects how well the paint adheres and how long it lasts. You’ll want to start by cleaning the surface to remove dust and grease, as these contaminants can lead to peeling or chipping. Next, inspect for any damages and repair them, guaranteeing a smooth finish. Sanding helps create an ideal texture for paint application. Remember to apply a suitable primer, which enhances adhesion and hides imperfections. Taking these steps guarantees your paint job looks professional and withstands the test of time, paving the way for even better results.

Key Takeaways
- Proper surface preparation ensures a strong bond between the paint and substrate, enhancing durability and longevity of the paint job.
- Cleaning surfaces removes contaminants that can cause peeling, chipping, and poor adhesion of the paint.
- Repairing damages and imperfections leads to a uniform appearance, improving the overall aesthetics of the finished project.
- Priming creates a smooth canvas and enhances paint adhesion, preventing issues like peeling and blistering.
- A final inspection ensures all surfaces are free from dust and moisture, promoting a flawless paint application and lasting results.
Importance of Surface Preparation
When it comes to painting, proper surface preparation is vital to achieving a flawless finish. You might think that just slapping on some paint will do the trick, but that couldn’t be further from the truth.
The surface you’re painting should be clean, smooth, and free of any surface contaminants. These contaminants, like dust, grease, or old paint, can seriously hinder paint adhesion. If the paint doesn’t stick well, you’ll end up with peeling or chipping, and that’s not what you want.
Proper preparation techniques enhance adhesion and finish, resulting in a more durable outcome effective adhesion that withstands the test of time.
Preparing the surface correctly sets the foundation for your painting project. By taking the time to remove any impurities, you’re ensuring a strong bond between the surface and the paint. This bond is vital for the durability and longevity of your finish.
Cleaning the Surface
Cleaning the surface is an essential step in the painting process, and it can make all the difference in the final result. Before you begin painting, you need to verify that the surface is free from any contaminants that could interfere with adhesion. Dust, grease, and mildew are common surface contaminants that can ruin your hard work.
Proper surface cleaning not only removes these contaminants but also enhances the bond between the paint and substrate, guaranteeing a more durable finish that can withstand the test of time.
To get started, gather your cleaning solutions. Depending on the type of surface, you might use soap and water, a mild detergent, or specialized cleaners. For tougher stains, consider using a mixture of vinegar and water or a commercial cleaner designed for your specific needs.
Once you’ve chosen your cleaning solution, apply it to the surface using a cloth or sponge, making sure to scrub away any grime. Rinse thoroughly with clean water to remove any residue from the cleaning agents.
After that, allow the surface to dry completely before moving on to the next steps in your painting project.
Repairing Damages
After guaranteeing your surface is clean, the next step is to address any damages.
You’ll want to carefully inspect for cracks, holes, or other imperfections that could affect your paint job. For any visible cracks, use a quality crack filling compound. This will help restore the integrity of the surface and prevent further damage.
Professional painters have more experience in identifying surface issues and selecting the right materials for repairs, guaranteeing a more durable finish. Simply apply the compound according to the manufacturer’s instructions, making sure to fill the cracks completely.
Once the crack filling has dried, it’s time for surface smoothing. This step is essential because it guarantees a uniform appearance, making your paint adhere better and look more polished.
You can use a putty knife or a scraper to gently smooth out the filled areas, blending them into the surrounding surface. If necessary, apply additional crack filling to achieve the desired smoothness.
Sanding Techniques
Sanding is an important step in achieving a smooth, professional finish on your painted surface. By using the right sanding tools and methods, you can prepare your surface effectively for paint.
Proper surface preparation, which constitutes over 75% of the painting process, guarantees proper paint adhesion and prevents premature failure.
Start with coarse sandpaper, usually around 80 to 100 grit, to remove imperfections and rough spots. As you progress, switch to finer grits, like 220, to create a smooth base for your paint.
When sanding, try using both manual and power sanding methods. Manual sanding is great for detailed work or small areas, while power sanders will save time on larger surfaces. Always keep the sander moving to avoid creating uneven spots.
You might want to use a sanding block for better control and pressure distribution, promoting a uniform finish. Don’t forget to sand in the direction of the grain, especially on wood surfaces, to prevent scratches that could show through the paint.
After sanding, be sure to clean the surface thoroughly to remove dust and debris. This way, you’ll set yourself up for a stunning paint job that lasts.
Priming the Surface
Priming your surface is an essential step that can greatly enhance your painting project.
It not only improves paint adhesion but also helps create a more uniform finish, ensuring your hard work pays off.
By utilizing the expertise of a professional service, you can benefit from their product knowledge in selecting the right primer for your specific needs.
There are various types of primers available, each suited for different surfaces and conditions, so choosing the right one is key to achieving the best results.
Benefits of Priming
Enhancing the durability and appearance of your paint job starts with a solid primer application. A good primer helps with color adhesion, ensuring that your paint sticks better and looks vibrant. When you select the right primer, you’re setting the foundation for a long-lasting finish.
Different surfaces require specific types of primers to achieve ideal results. For example, if you’re working with bare wood, a primer designed for that material will seal the surface and prevent issues like peeling or blistering later on. This means your paint can perform at its best, standing up to the test of time and environmental factors.
Priming also covers stains and imperfections, offering a smooth canvas for your topcoat. This means fewer touch-ups down the line, saving you time and effort.
Types of Primers
When you’re preparing to paint, choosing the right type of primer can greatly impact the final result. There are several options available, each suited for different needs.
Water-based primers are popular for their easy cleanup and quick drying times, making them a convenient choice for most interior projects.
On the other hand, oil-based primers provide excellent adhesion and stain blocking capabilities, ideal for surfaces with tough stains or previous finishes.
If you’re dealing with specific issues, specialty primers can be your best friend. For example, bonding primers enhance the grip on glossy surfaces, while stain-blocking primers prevent old stains from bleeding through your new paint.
High heat primers are perfect for areas exposed to extreme temperatures, like around stoves or fireplaces. If you’re environmentally conscious, consider eco-friendly primers that minimize harmful emissions without sacrificing performance.
Final Inspection Checklist
Before you immerse yourself in painting, it’s vital to conduct a thorough final inspection of your surfaces. This final inspection helps guarantee everything is ready for a flawless finish.
Start by checking for any remaining dust or debris; these can ruin your paint job. Use a clean, damp cloth to wipe down surfaces if necessary.
Next, examine the surface for any imperfections. Look for dents, scratches, or peeling paint that need attention. If you spot any issues, take the time to repair them before you start painting.
Also, make sure the surface is completely dry and free of moisture. This is important, as painting over damp areas can lead to peeling later on.
Frequently Asked Questions
How Does Weather Affect Surface Preparation for Painting?
Weather greatly impacts surface preparation for painting. High humidity can hinder adhesion, while extreme temperatures may affect drying times. You need to take into account these factors to guarantee a smooth, lasting finish on your surfaces.
Can I Skip Surface Preparation for Small Touch-Ups?
You might think you can skip surface preparation for small touch-ups, but it’s essential. Proper touch-up techniques guarantee paint adhesion, preventing peeling or flaking. Don’t underestimate the importance of prepping even the smallest areas.
What Tools Are Essential for Effective Surface Preparation?
You can’t underestimate the importance of the right tools. For effective surface preparation, use quality sanding techniques and reliable cleaning solutions. These will guarantee your surface is primed for a smooth, lasting finish.
How Long Should I Wait After Preparation to Paint?
You should wait at least 24 hours after preparation to guarantee proper drying time. This helps maximize paint adhesion, preventing issues like peeling or bubbling. Always check the specific product guidelines for best results.
Is Surface Preparation Different for Indoor and Outdoor Painting?
Yes, surface preparation differs for indoor and outdoor painting. Indoor surfaces focus on contamination issues and primer application, while outdoor surfaces require attention to moisture control, paint adhesion, and environmental factors affecting various substrate types.
Conclusion
Proper surface preparation is like the foundation of a house; without it, everything built on top can crumble. By cleaning, repairing, sanding, and priming, you guarantee your paint will adhere well and look great for years to come. Taking the time to prepare the surface only enhances the final result and also extends the longevity of your paint job. So, invest in preparation, and you’ll be rewarded with beautiful and durable finishes.


