Giving your bathroom a fresh coat of paint improves its overall appearance and ambiance. It’s one of the easiest and most cost-effective home improvement projects you can undertake. While painting a bathroom gives it a new look and adds value to your home, it’s important to do it right before you grab a brush and start painting.
While the task may seem simple, it requires preparation and planning to achieve the desired results. Taking shortcuts or not following the proper steps can lead to a bad paint job, ruining your bathroom’s look and feel. You should invest your time and effort in preparing and painting your bathroom so you do an excellent job at it.
If you need help with how to paint a bathroom, this post has you covered. You’ll learn everything you need to know about how to paint a bathroom, including the materials and the proper steps. By following the tips provided, you’ll give your bathroom an updated aesthetic that will enhance your home’s overall appeal.
Essential Materials for Bathroom Painting
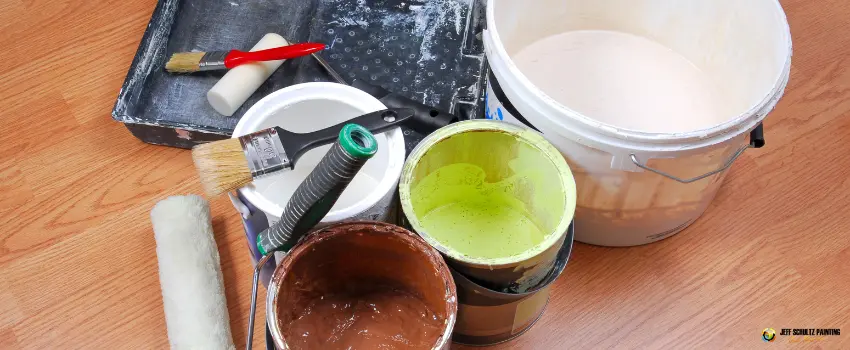
Before painting your bathroom, you need to have all the necessary materials. The right materials will make the job easier and help you achieve the best results possible. Here’s what you’ll need:
- Paint
- Primer
- Paintbrushes
- Paint rollers
- Painter’s tape
- Drop cloths
- Sandpaper
- Paint tray
- Paint stir sticks
Pro Tips for Painting a Bathroom
Now that you know the required materials, it’s time to learn how to paint a bathroom properly. Here’s what you need to do:
1. Prepare the surfaces.
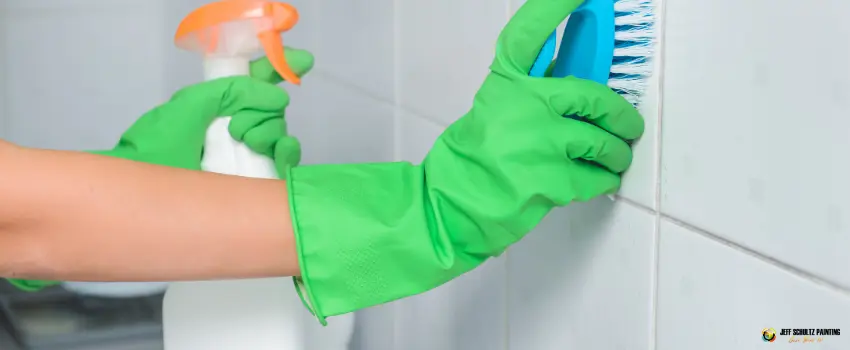
Preparing the surfaces is one of the most crucial bathroom painting tips. Any dirt, grease, or mildew on the walls will prevent the paint from adhering properly. If the walls have cracks or holes, these should be repaired before painting. Not only will this provide a smooth surface for painting, but it will also prevent moisture from seeping into the walls.
To prepare the surfaces, start by cleaning the walls thoroughly. Use a mild cleaner and a sponge or cloth to remove dirt or grime. For tougher stains or mildew, use bleach and water to kill the mold and remove discoloration. Once the walls are clean, allow them to dry completely before moving on to the next step.
After the walls are dry, inspect them for any cracks or holes. If you find any, use spackling compound or joint compound to fill them in. Let the compound dry, then sand down any rough spots until the surface is smooth.
2. Choose the right paint.
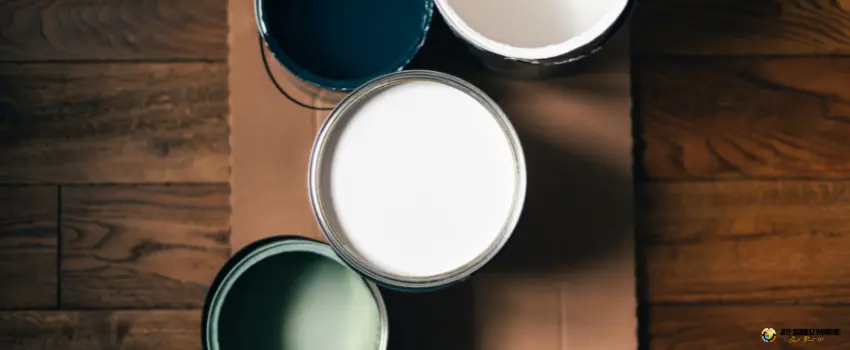
Choosing the right bathroom paint results in a long-lasting and high-quality finish. Look for paints specifically formulated for bathrooms, as they are designed to withstand the moisture and humidity commonly present in these areas. These paints also have added features like mildew resistance that can help prevent the growth of mold and mildew.
When selecting the type of finish, consider using satin or semi-gloss paints. These finishes are more durable and easier to clean than flat or matte finishes. Satin finishes have a subtle shine that can help reflect light, making your bathroom look brighter and more spacious. Meanwhile, semi-gloss finishes have a higher shine and are even more durable, making them perfect for high-traffic areas like bathrooms.
3. Protect your bathroom fixtures.
Before you begin painting, ensure you have enough plastic sheeting and painter’s tape to cover your bathroom fixtures completely. Start by covering the toilet and sink with plastic sheeting; remember to tape down the edges to secure them in place. You can also cover the shower with plastic sheeting and tape around the edges.
When using painter’s tape, apply it carefully and evenly to avoid any paint seepage. You can use a putty knife or scraper so the tape adheres to the surface correctly. Also, use a utility knife to trim any excess tape or plastic sheeting after application.
4. Use a primer.
When it comes to painting a bathroom, using a primer is a necessity. A primer is an undercoat that provides a smooth surface for the paint to adhere to, resulting in a more professional and long-lasting finish. It helps the paint stick to the surface and prevents stains from bleeding through the paint, especially in areas like bathrooms.
Keep in mind that different surfaces may require different types of primers, such as oil-based or water-based primers. Choose the suitable primer for the surface you’re painting to get the best results.
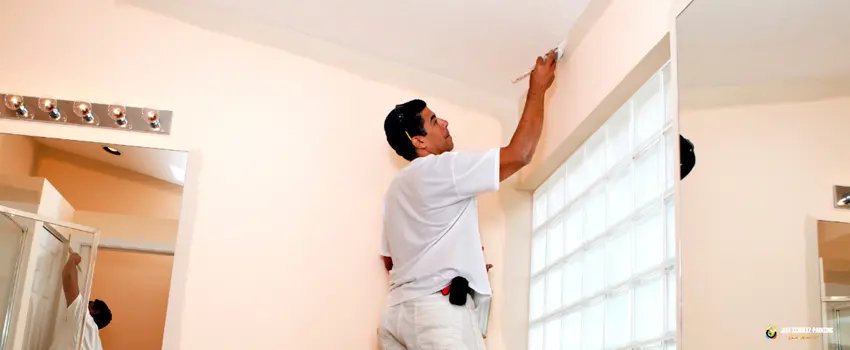
5. Begin by painting the ceiling.
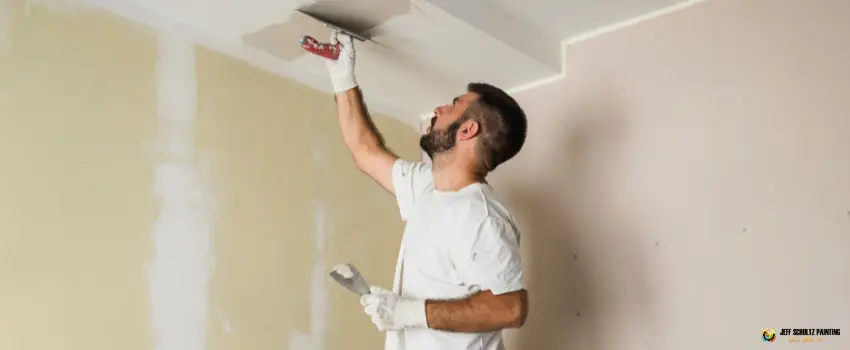
Painting the ceiling first is common in any room, but it’s imperative in a bathroom where humidity and moisture can accumulate. Starting with the ceiling guarantees that any paint drips or splatters won’t ruin the newly painted walls.
Since painting the ceiling can be more complex and tiring, hiring a professional bathroom painter might be worth it. A professional can get the job done correctly and efficiently. They can also provide expertise in choosing the right paint color, finish, and brand for your bathroom needs.
6. Cut in around the edges.
This process involves painting a narrow strip along the edges where the walls meet other surfaces, such as corners and window frames. Using a paintbrush to cut in ensures you can get into tight spaces and corners that a roller cannot reach, resulting in an even finish.
Remember to use the right amount of paint on the brush when cutting in. Too much paint can result in drips and blobs, while too little paint can leave a thin, uneven coat. Cutting in can be time-consuming, but it’s worth the effort for a polished look.
7. Roll the paint onto the walls.
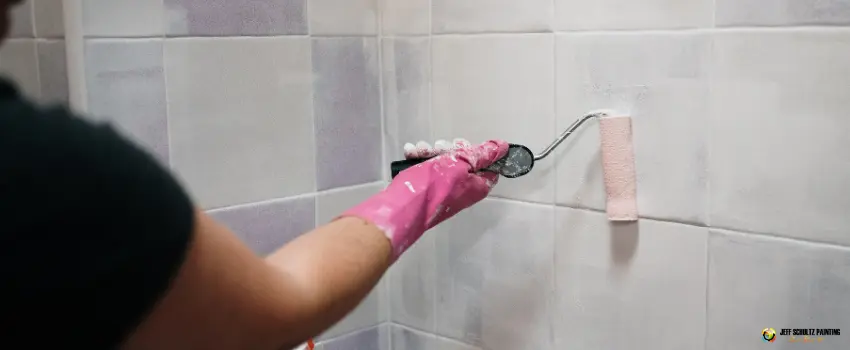
When using a roller, apply pressure evenly and avoid pressing too hard, as this can cause the roller to leave an uneven texture. Be sure to roll the paint onto the wall in long, vertical strokes, working in small sections at a time. Doing so will help prevent drips and ensure a smooth finish.
You must work quickly when rolling the paint onto the walls, as some paints can dry quickly, especially in a humid bathroom. If you need a break, stop at a natural break point, such as a corner or edge. You should also avoid leaving a painted section in the middle of the wall.
8. Apply a second coat.
Applying a second coat is a vital tip on how to paint a bathroom. A second coat of paint will help make certain that the walls have a durable finish. Before applying the second coat, check if the first coat is completely dry. The drying can take several hours, so check the manufacturer’s instructions on the paint can for drying times.
When applying the second coat, use the same techniques as the first coat. Begin by cutting in around the edges with a brush and then use a roller to cover the rest of the wall. Be sure to work quickly and avoid leaving any brush or roller marks.
If the first coat provided complete coverage, a second coat may only be necessary for areas where moisture is likely to accumulate. Once the second coat is dry, remove any painter’s tape and plastic sheeting, and allow the paint to cure for several days.
9. Allow proper ventilation.
Proper ventilation when painting a bathroom is a non-negotiable so that you and your family remain safe and healthy. The fumes from the paint can be harmful, especially in an enclosed space such as a bathroom. To prevent build-up from the fumes, leave the windows and doors open to let fresh air in.
Besides leaving the windows and doors open, you can also use a fan or exhaust vent to help circulate the air. If your bathroom does not have a window or exhaust fan, consider purchasing a portable air purifier to remove any air toxins.
Conclusion
Painting a bathroom is less stressful with the right guidance. Whether you’re a beginner or an experienced DIYer, following these tips can help you achieve a professional-looking finish. Remember to take your time, stay organized, and work systematically during the painting process. With these tips for painting a bathroom, you’re on your way to becoming a bathroom painting pro.
Give your bathroom a new look with Jeff Schultz Painting!
Jeff Schultz Painting has the most qualified painters in Sarasota, FL that will revamp your bathroom and give it an updated look. Our team of experts uses only the highest quality paints and tools to ensure a flawless finish that will last for years. We take pride in our workmanship and guarantee your satisfaction with our services. Contact us today to schedule a consultation and see how we can transform your bathroom into a beautiful, inviting space.